REVIEW · BAYFRONT SCOOTER RIDES
Onewheel Electric Hoverboard Lesson and Bay Ride
San Diego has a way of making you feel like you can learn anything outdoors. This Onewheel XR lesson and bay ride is a hands-on way to get comfortable fast, starting with the board basics and ending with a guided roll along the water at Liberty Station. I like that it’s structured for first-timers and paced for confidence, not speed.
Two things I really like: first, you get step-by-step coaching on control—acceleration, braking, and stability—so the learning curve feels manageable. Second, the ride route is designed for practicing in a real setting, with a bike-path style route and limited pedestrian traffic right by the bay.
One possible drawback: you’ll need good weather, since the experience is weather-dependent, and you’ll be rescheduled or refunded if conditions are poor.
In This Review
- Key things that make this ride worth your time
- Where you’ll start: Liberty Station Arts District and a calmer first step
- How the 1.5-hour lesson builds confidence (even if you’ve never tried one)
- What you actually learn: control, acceleration, braking, and stability
- The bay ride: Liberty Station paths with less pedestrian pressure
- Safety gear: the practical reason this feels less stressful
- Price and value: what $79 buys you in real-world riding time
- Who this is best for (and who should consider skipping)
- Practical tips before you go (so you feel ready at minute one)
- Book it or pass it? My honest call
- FAQ
- How long is the Onewheel electric hoverboard lesson and bay ride?
- What’s included in the lesson?
- Do I need experience riding hoverboards?
- What safety equipment is provided?
- Where does the tour start?
- What’s the maximum group size?
- What happens if the weather is poor?
- What’s the cancellation policy?
Key things that make this ride worth your time
- Small group (max 10 travelers) means more attention while you learn balance.
- Safety gear provided (helmet, knee pads, elbow pads, wrist guards) lowers the stress level.
- Hands-on instruction covers mounting, balance, acceleration, braking, and stability.
- Liberty Station to the bay gives you a scenic, practical place to practice on a path.
- Top speed up to 18 mph with off-road capability for a fun-but-controlled experience.
More scooter spins from the waterfront to Balboa Park
- Balboa Park Electric Scooter Tour with Pictures
★ 5.0 · 59 reviews - Explore Coronado Island by E-Scooter with Photos Included
★ 5.0 · 58 reviews - San Diego GPS Guided Scooter Tour: Downtown & Balboa Park Sights
★ 4.5 · 27 reviews - 1 Hour GPS Guided Scooter Tour: Harbor/Gaslamp Quarter
★ 5.0 · 23 reviews - Coronado: GPS-Guided Scooter Tour & Round-Trip Ferry
★ 4.5 · 13 reviews
Where you’ll start: Liberty Station Arts District and a calmer first step
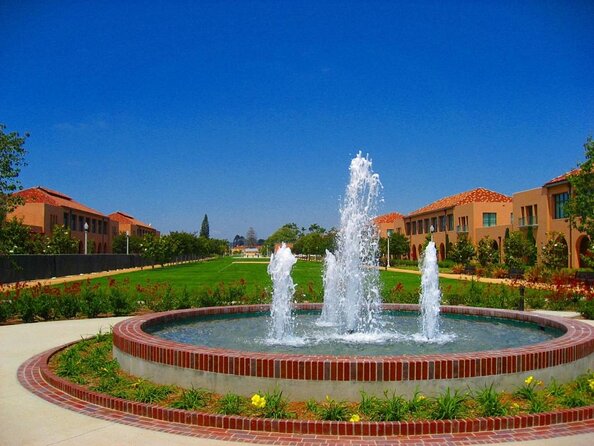
Your experience begins at 2753 Cushing Rd, San Diego, CA 92106, near the Arts District at Liberty Station. That matters because you’re not dropped into chaos. Liberty Station is built for walking paths and open space, which makes it easier to learn without fighting through crowds.
You’ll also be grateful for the location if you’re planning your day. After your ride, there are shopping and places to eat nearby, so you can turn this into a full half-day outing instead of treating it like a quick detour.
The meeting location is pinned for GPS, which helps if you’re driving or hopping in by public transportation. Either way, plan to arrive a few minutes early so you can get your gear on and get settled before instruction starts.
How the 1.5-hour lesson builds confidence (even if you’ve never tried one)
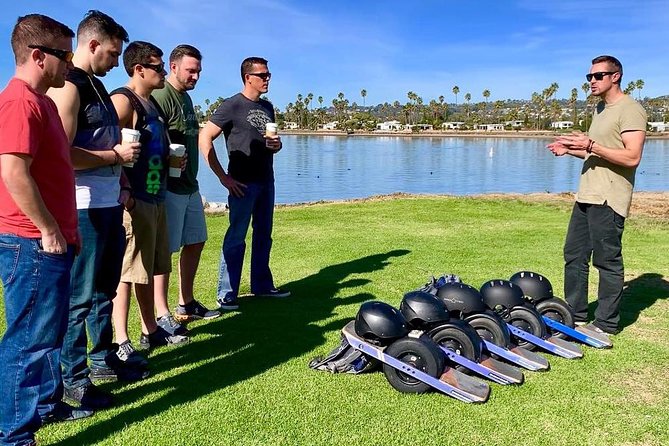
This is a 1 hour 30 minutes experience that mixes classroom-style explanation with real practice. They start by walking you through the Onewheel XR design, layout, and technical specs. That early context isn’t trivia—it helps you understand why the board behaves the way it does when you shift your weight.
Then comes the part that makes the ride feel doable: you’ll get coaching on the practical mechanics of getting on and off. Expect help with:
- mounting the board safely
- finding initial balance
- dismounting confidently
- basic board control from a standstill
The big value here is that you’re not left to figure it out while people speed past you. You’re learning in a structured flow: understand it, do it slowly, then build comfort.
If you’re nervous, you’re not alone. The coaching style is often described as patient and supportive, with instructors like Jeff and Jesse called out for taking the time to get riders comfortable before turning you loose.
What you actually learn: control, acceleration, braking, and stability
The goal isn’t to turn you into a pro. It’s to get you in control enough to enjoy the bay ride without feeling like you’re guessing.
Here’s how the core skills fit together:
Control (basic stance and steering feel):
You’ll learn how your body position affects the board. That includes how to keep a stable stance, how to make gentle adjustments, and how to stay relaxed instead of stiff. Stiff is usually what makes first rides feel awkward.
Acceleration (starting smoothly):
They teach how to move forward with control. This is where you stop thinking about balance every second, and start feeling the board’s response. Once acceleration feels predictable, your brain relaxes.
Braking (slowing down on purpose):
This is the skill that turns fear into fun. You’ll practice the braking action so you know you can slow down safely when you need to. You don’t want your confidence to depend on hoping you’ll stop in time.
Stability (staying steady while moving):
Stability isn’t just about standing still. It’s about making small corrections while the board is in motion. That’s the difference between a wobbly first try and a ride that feels smooth.
A key detail: the instruction is designed around safety gear and careful repetition. So even if the board feels strange at first, you’re given enough time to get used to the way it responds.
The bay ride: Liberty Station paths with less pedestrian pressure
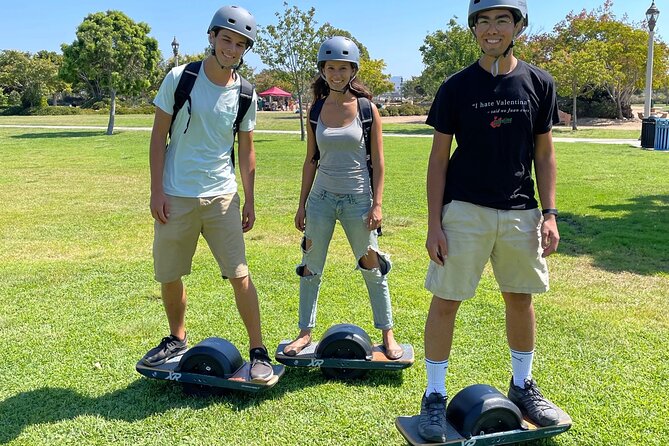
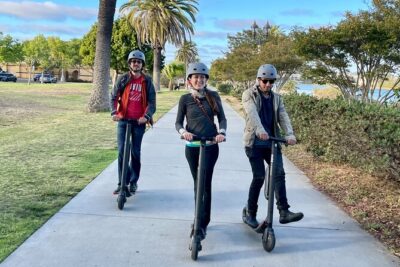
Once you feel comfortable, you move from practice to a guided ride. All rides take place along the water at Liberty Station, using a bike-path style route that’s described as having minimum pedestrian traffic.
That’s a big deal. A hoverboard ride gets fun fast, but only if you’re not constantly dodging walkers. By keeping pedestrian interference low, you can focus on technique and enjoying the setting.
During the ride, you’ll follow a route from Liberty Station Park along the waterfront. The guide also takes you through a short loop around the park and bay, sharing some San Diego natural beauty and history. The route itself is scenic, but the real win is that the environment gives you a place to practice smoothly while still feeling safe and controlled.
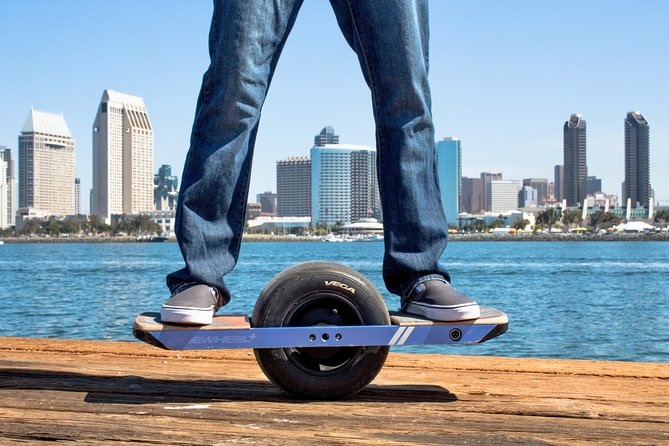
And yes, the speed can feel exciting. The boards are rated with a top speed of 18 mph, and they have off-road capability. You likely won’t be blasting at top speed the whole time (and you shouldn’t need to), but knowing the capability is there makes the ride more satisfying once you’ve got control.
Other workshops we have tried across San Diego
- Onewheel Electric Hoverboard Lesson and Bay Ride★ 5.0 · 98 reviews
- Stand up Paddle Board Lesson on The San Diego Bay★ 5.0 · 25 reviews
- Intro to Wild Clay/Earthenware Pottery Workshop★ 5.0 · 10 reviews
Safety gear: the practical reason this feels less stressful
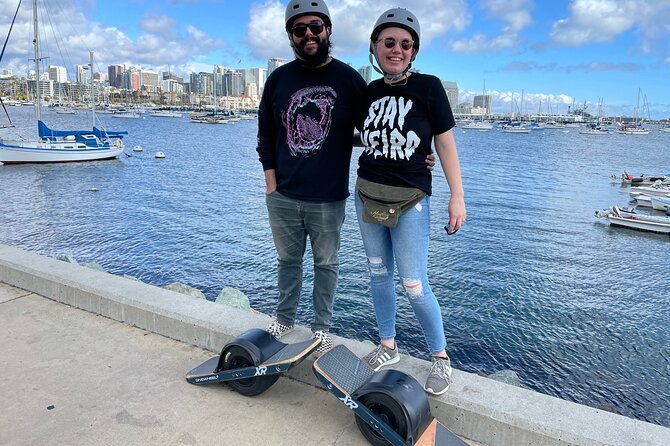
One reason people recommend this so strongly is that safety gear isn’t treated like an afterthought. You get protective equipment including helmets, knee pads, elbow pads, and wrist guards.
That gear does two things for you:
- It reduces the fear factor, so you can learn faster.
- It lets the instruction focus on confidence, not panic.
Wrist guards are especially important for first-timers because if you lose balance, your instinct is often to catch yourself with your hands. Knee and elbow pads help you keep moving forward with fewer worries if you need to step down or stumble while learning.
In other words, the safety setup supports the lesson style. It’s not just protection—it’s part of why the learning process feels calmer.
Price and value: what $79 buys you in real-world riding time
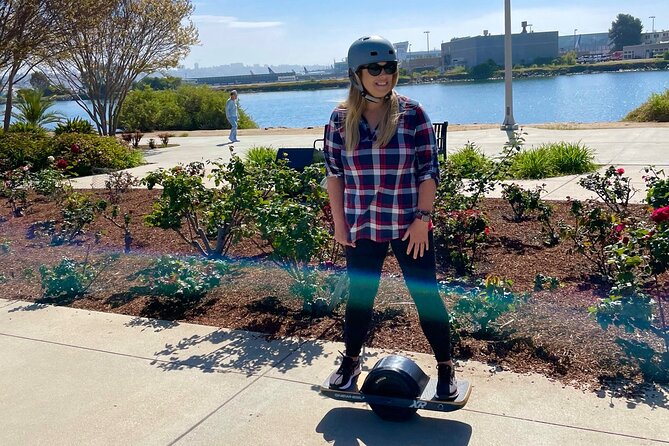
At $79.00 per person for about 1.5 hours, you might wonder if this is worth it versus renting a board. Here’s how I see the value.
You’re paying for:
- guided setup and support (mounting, balance, dismounting)
- hands-on coaching on control skills
- safety gear provided
- a scenic, organized ride route with a clear structure
If you try to learn on your own, you’ll spend a lot of time wobbling, stepping off, and re-starting—without anyone helping you correct the posture that’s causing the wobble. That’s where this lesson pays for itself.
It’s also small-group (up to 10 travelers). More attention typically means faster progress, which is exactly what you want when time is limited.
If you’re going as a group, you may also find group discounts, so it can get even better value with friends or family.
Who this is best for (and who should consider skipping)

This experience is a strong fit if you:
- want a fun outdoor activity that’s beginner-friendly
- like structured instruction rather than trial-and-error
- want a guided ride with a scenic water setting
- are traveling with teens or family members who need a memorable non-museum activity
Also, you don’t need previous board sport experience. The instruction is built for first-timers.
You might want to think twice if:
- you’re not comfortable riding anything that requires balance (even with training)
- your schedule can’t flex if weather forces a reschedule
- you expect a long, freestyle-style ride (this is a lesson plus a guided loop, not an all-day cruising event)
Practical tips before you go (so you feel ready at minute one)
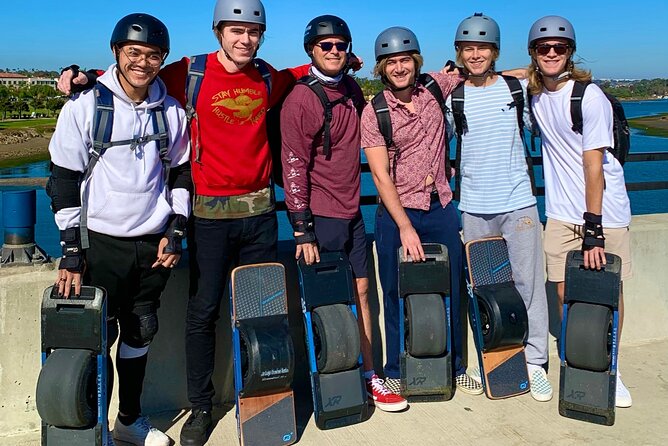
Because the ride starts with gear and control practice, preparation makes a difference. A few ideas that keep the experience smoother:
- Wear clothing you can move in easily. You’ll likely do more practicing than you expect.
- Plan on standing and short stops while you learn braking and stability.
- If you get nervous easily, decide ahead of time to take it slow on the first tries. The instruction is built for gradual comfort.
The ride happens along the water, so you might also want to dress for San Diego conditions at the time you book. Bring layers if the breeze picks up.
And if you’re the type who benefits from knowing what to expect, you’ll enjoy the initial board walkthrough. It sets the tone: learn the machine, then learn how you fit on it.
Book it or pass it? My honest call
I’d book this if you want a beginner-friendly way to try a Onewheel without guessing. The combination of small-group coaching, safety gear, and a guided bay route makes it a rare activity that feels both fun and structured.
I’d hesitate only if weather risk would seriously disrupt your schedule, since the experience depends on good conditions. Also, if you’re looking for a long, independent ride where you set your own pace the entire time, this lesson-and-loop format may feel short.
If you’re flexible, though, it’s the kind of activity that turns a normal visit into something active. And once the balance clicks, the bay ride is exactly the kind of San Diego moment that’s easy to remember.
FAQ
How long is the Onewheel electric hoverboard lesson and bay ride?
It runs about 1 hour 30 minutes.
What’s included in the lesson?
You’ll get instruction on the Onewheel XR basics and how to ride, including control, acceleration, braking, and stability. The group also provides help with mounting, initial balance, and dismounting.
Do I need experience riding hoverboards?
No previous board sport experience is necessary.
What safety equipment is provided?
Helmets, knee pads, elbow pads, and wrist guards are provided.
Where does the tour start?
The meeting point is at 2753 Cushing Rd, San Diego, CA 92106, and the activity ends back at the meeting point.
What’s the maximum group size?
The tour has a maximum of 10 travelers.
What happens if the weather is poor?
The experience requires good weather. If it’s canceled due to poor weather, you’ll be offered a different date or a full refund.
What’s the cancellation policy?
You can cancel for free up to 24 hours in advance for a full refund. If you cancel less than 24 hours before the start time, the amount paid isn’t refunded.
From Coronado to La Jolla: More Workshops
More Scooter Spins Around San Diego
Just added: fresh San Diego tours worth a scroll




Bayfront Scooter Rides, compared.
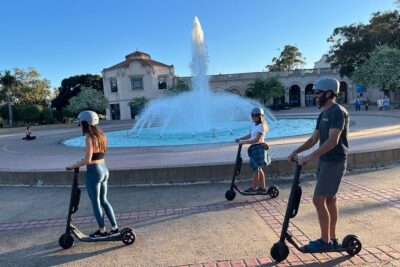 ★ 5.0Balboa Park Electric Scooter Tour with PicturesFrom $7559 reviews
 ★ 5.0Explore Coronado Island by E-Scooter with Photos IncludedFrom $7558 reviews
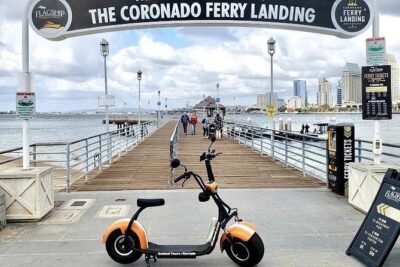 ★ 4.5San Diego GPS Guided Scooter Tour: Downtown & Balboa Park SightsFrom $8127 reviews
 ★ 5.01 Hour GPS Guided Scooter Tour: Harbor/Gaslamp QuarterFrom $9223 reviews
 ★ 4.5Coronado: GPS-Guided Scooter Tour & Round-Trip FerryFrom $13813 reviews
 ★ 4.7Downtown and Gaslamp Loop Scooter TourFrom $5911 reviews
 ★ 4.01Hr GPS Self Guided Scooter Tour: Harbor/Gaslamp QuarterFrom $6310 reviews
 ★ 5.0Electric Scooter Waterfront Tour with PicturesFrom $757 reviews
Browse the lists this tour appears in